History
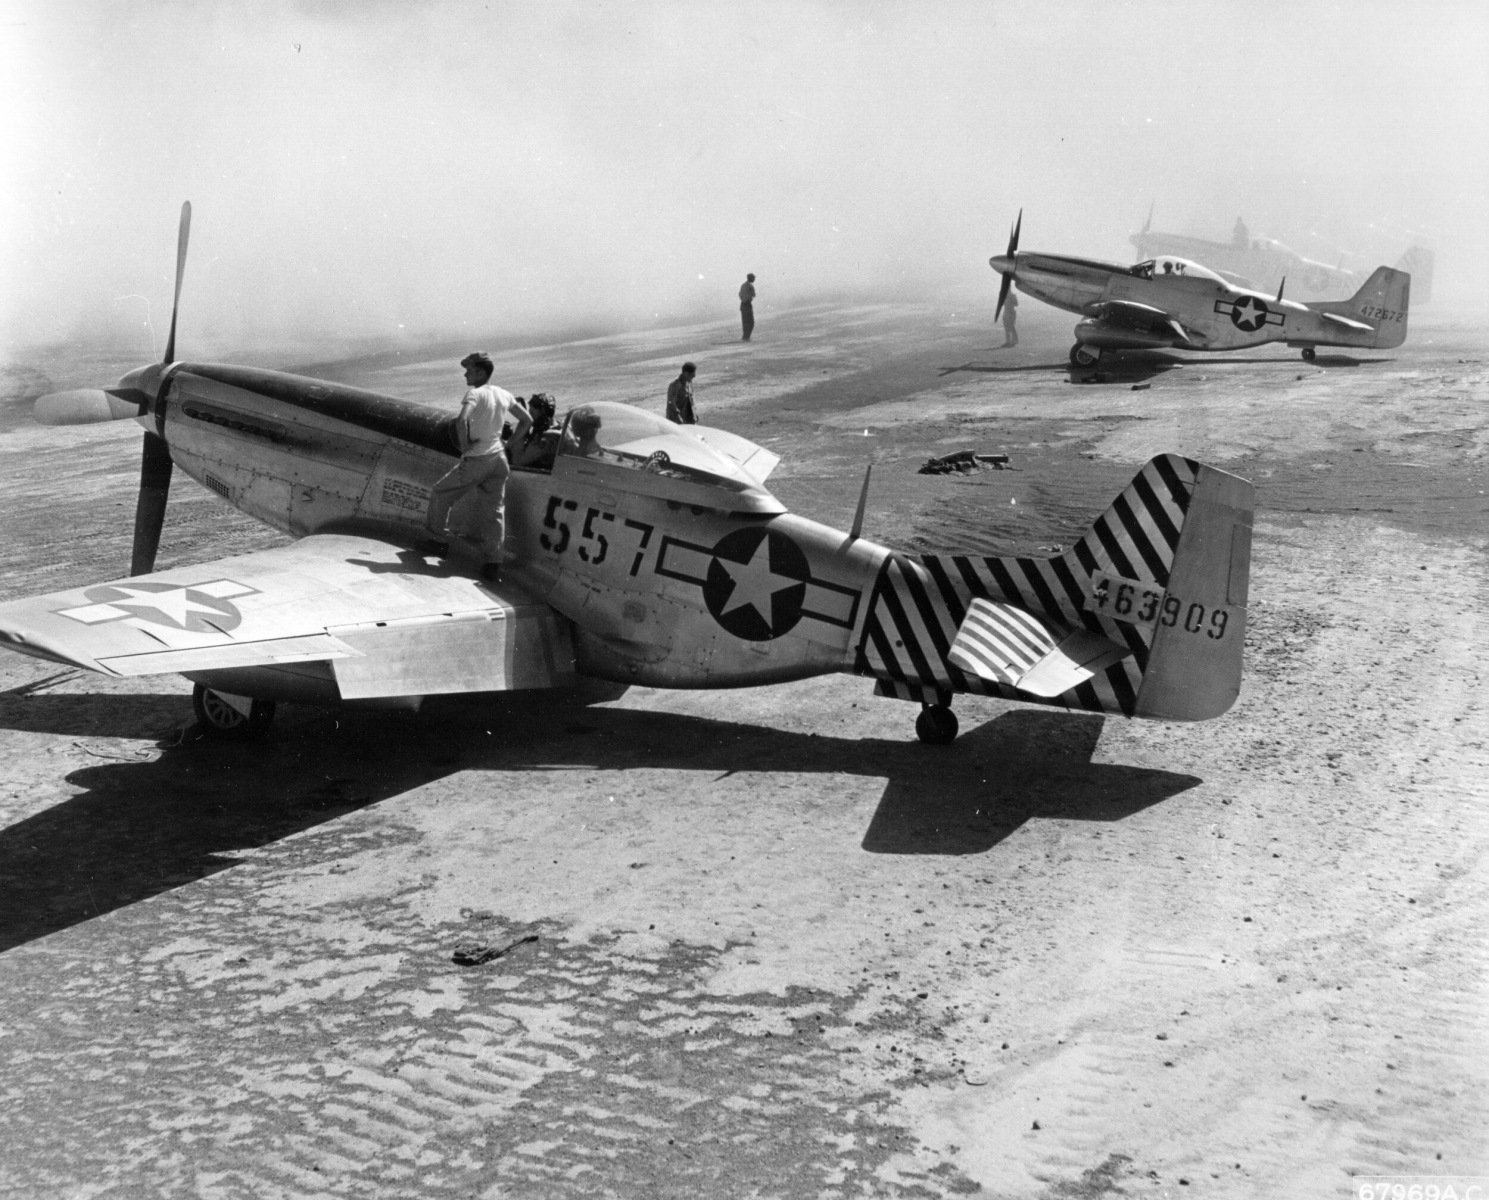 Since the history of the P-51D Mustang aircraft is fairly well-known, I would like to instead provide an overview of the history of the unit, one of whose aircraft I built as a model.
458th Fighter Squadron was formed in October 1944, and right from the beginning, the pilots trained for long escort missions on P-51 Mustangs. In the first months of 1945, the squadron flew combat missions from Tinian Island, but in April, it moved to an airfield on Iwo Jima. At that time, several squadrons of Mustangs operated from Iwo Jima, usually as escorts for B-29 bomber missions.
Fully loaded Mustangs struggled to lift off the ground, trailing clouds of volcanic ash dust often up to 20 meters high, before embarking on seven to eight-hour flights covering 1500 nautical miles. Pilots have approximately 20 minutes for combat actions over Japan before the Mustangs had to turn back home. Despite this, their superiority was immense, causing heavy losses to the Japanese. As dangerous as the enemy was, the weather posed another significant challenge. Pilots typically encountered three to five weather fronts on their route between their home airfield and Japan, often resulting in accidents, some tragic. During such deployments, pilots usually completed around 100 flight hours (approximately 15-18 missions) before rotating elsewhere.
Navigation
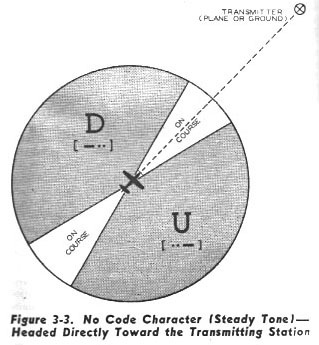 An interesting aspect of the Very Long Range (VLR) versions of the Mustangs was the navigation system. Two antennas on the back of the Mustangs received an audio signal with the letters “U” and “D” in Morse code. If the pilot maintained the correct course, they heard a continuous signal; if they deviated, they heard individual letters with a delay – the antennas were precisely one-quarter wavelength apart. This system was mostly installed on B-29s, but a ground-based version called “Brother Agate” was also utilized.
Cockpit
As is customary with aircraft, construction began with the cockpit. I bought a resin one, although the one from the kit is very good, and I think there would have been minimal visible differences after closing it into the fuselage. However, I was very impressed with the resin seat, which was beautifully crafted and clearly visible. Nonetheless, I added a few details made of wire instead of plastic hoses. Now, I would like to draw attention to a few shortcomings that appeared when I completed the resin cockpit, and actually, I will try to dissuade you from using it.
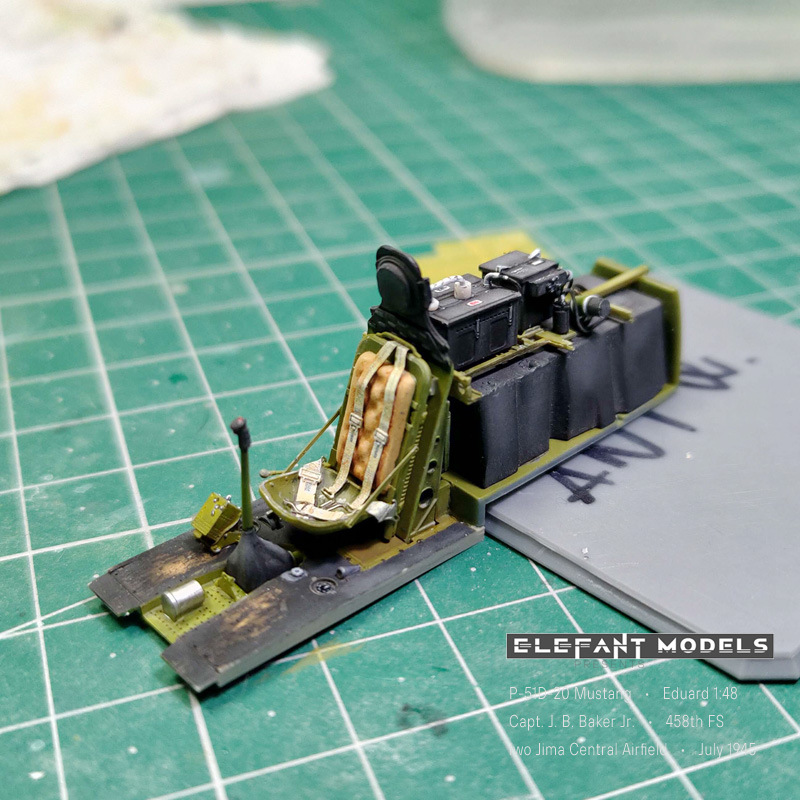 Firstly, you have to cut the Mustang’s floor and glue it onto the resin front part. This operation alone carries the risk, in my opinion, of damaging the cockpit’s geometry. Secondly, due to the resin sidewalls, it is necessary to sand the plastic tank and even the resin sidewalls because they interfere during assembly. Frankly, I don’t understand why Eduard designed these things so meticulously in places where they are absolutely invisible.
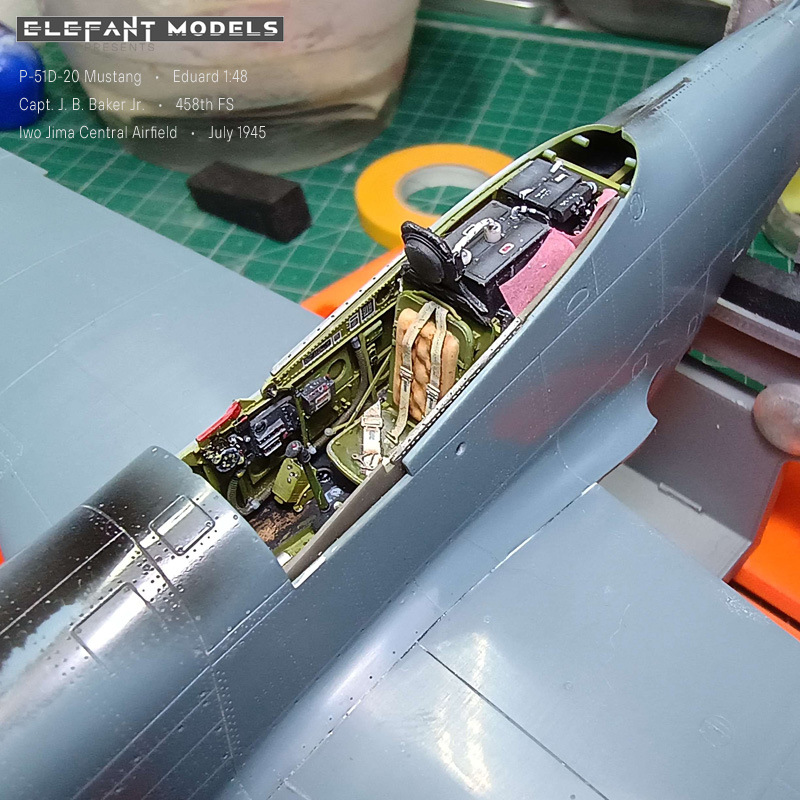
Thirdly, when gluing the cockpit into the fuselage, you will likely have trouble getting everything to fit correctly because depending on how misaligned you glued the floor together, the whole assembly will shift or twist, and the upper edges will not align with the fuselage and the front under the instrument panel.
Finally, you may also have problems gluing the windscreen, etc. Given that, for example, the resin shafts on the Mustang are even worse in this regard and would ruin the entire model’s geometry, it seems to me that the Eduard resin parts for the Mustang are the biggest weakness of the whole product and an unnecessary investment that will only ruin the model. Which personally surprised me a lot because I generally like Eduard’s brassins, and they are usually precise. However, with careful work and dry fitting, you should be able to manage it.
Construction – Fuselage
 The assembly of the fuselage doesn’t hide any traps. I had a slightly twisted fuselage at the air intake, which required extra effort and putty, but I believe most kits do not have this manufacturing defect. Just remember to attach the brace before installing the intake lip. Regarding the cooling exhaust flaps, I glued them to the model after painting, but it requires a bit of care and ingenuity, so I would recommend less experienced individuals to glue them before painting the model. Construction – Wing
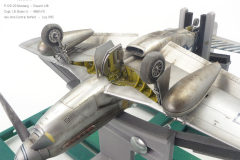
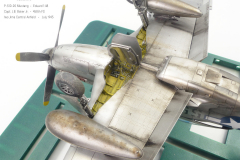
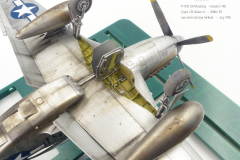
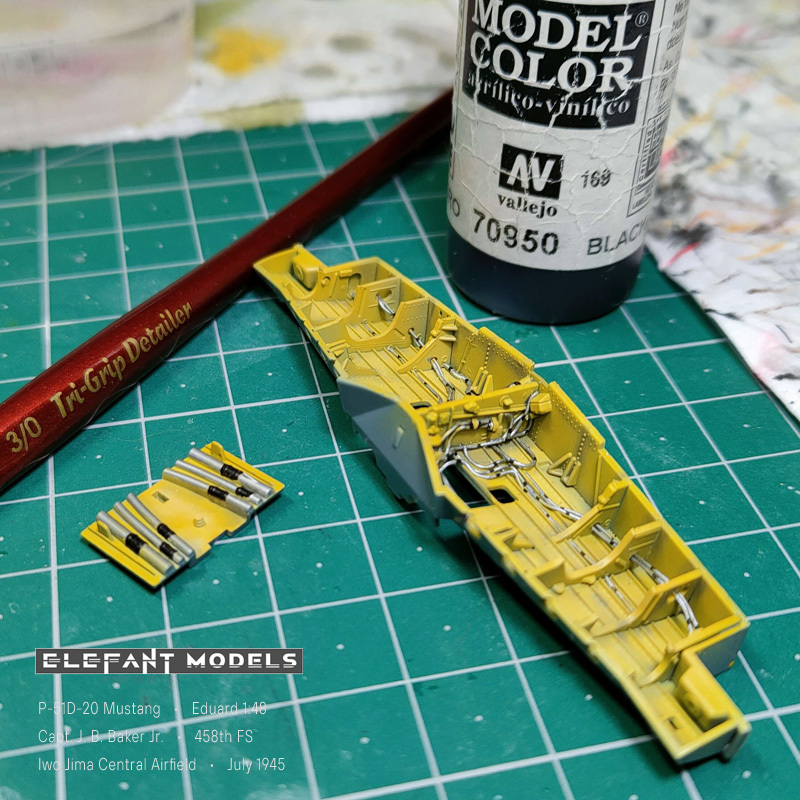
I started with the undercarriage well, which is beautifully crafted and, most importantly, fits perfectly into the wing. I added a few wires according to photos; it didn’t need much more. Especially when gluing the wells together, I recommend proceeding precisely because the well’s geometry will determine the wing’s geometry and its correct dihedral. Then, I drilled out mainly machine gun barrels on the wing, which wasn’t entirely straightforward; Eduard made them almost the right size, so they are relatively tiny.
 I appreciated the system Eduard used to install the formation lights – it’s very clever and simple. What I didn’t appreciate was the flimsy construction of the landing light and the hole in the glass, which seemed to be a result of a flawed manufacturing process. I then modeled the light and printed it on a 3D printer. For glazing, I used Tamiya gloss varnish in several layers, allowing them to dry between each.
Wing-fuselage assembly
Installing the wing onto the fuselage could be described as trouble-free. Eduard managed the complex shapes very well, so it shouldn’t cause significant difficulties to anyone. In my opinion, using Tamiya Extra Thin glue for this operation is ideal; cyanoacrylate glue sets quickly and is also brittle. You will need a little more time and a solid and flexible joint for this operation, especially due to the way the front part, which already forms part of the fuselage’s nose, is glued. It’s also important to ensure the wing’s and fuselage’s alignment from the top. The transition should be smooth and without steps – in my case, there was a minor step; the wing had a slightly lower profile. Unfortunately, dry fitting may not reveal this, so you may find yourself later sanding and correcting it. Luckily, this repair is relatively easy, and I encounter similar flaws with every model – it’s practically unavoidable. Similarly, I had to deal with the connection of the fuselage to the tail. The overlap on the fuselage is too pronounced; in reality, the transition was practically flat, so I recommend thinning it out here as well.
Carburetor air filter covers
 When installing the carburetor air filter covers under the engine, I noticed a rare inaccuracy – the part should be flush with the fuselage’s surface, but as I noticed, not only on my model but on most, they protrude significantly above the surface. The best solution is to sand them down from the inside so that they fit well into the recesses. Proceed carefully; you’ll need to sand their outlines, or else you won’t get them into the prepared recesses. Hmm, I have no idea why Eduard opted for such an awkward solution. They should have been molded simultaneously with the fuselage, and that would have been the end of the hassle.
I didn’t find any further traps during construction; the entire model fits together very well, and if it weren’t for the incident with the twisted fuselage at the bottom, I wouldn’t have needed to use putty at all.
Model Painting
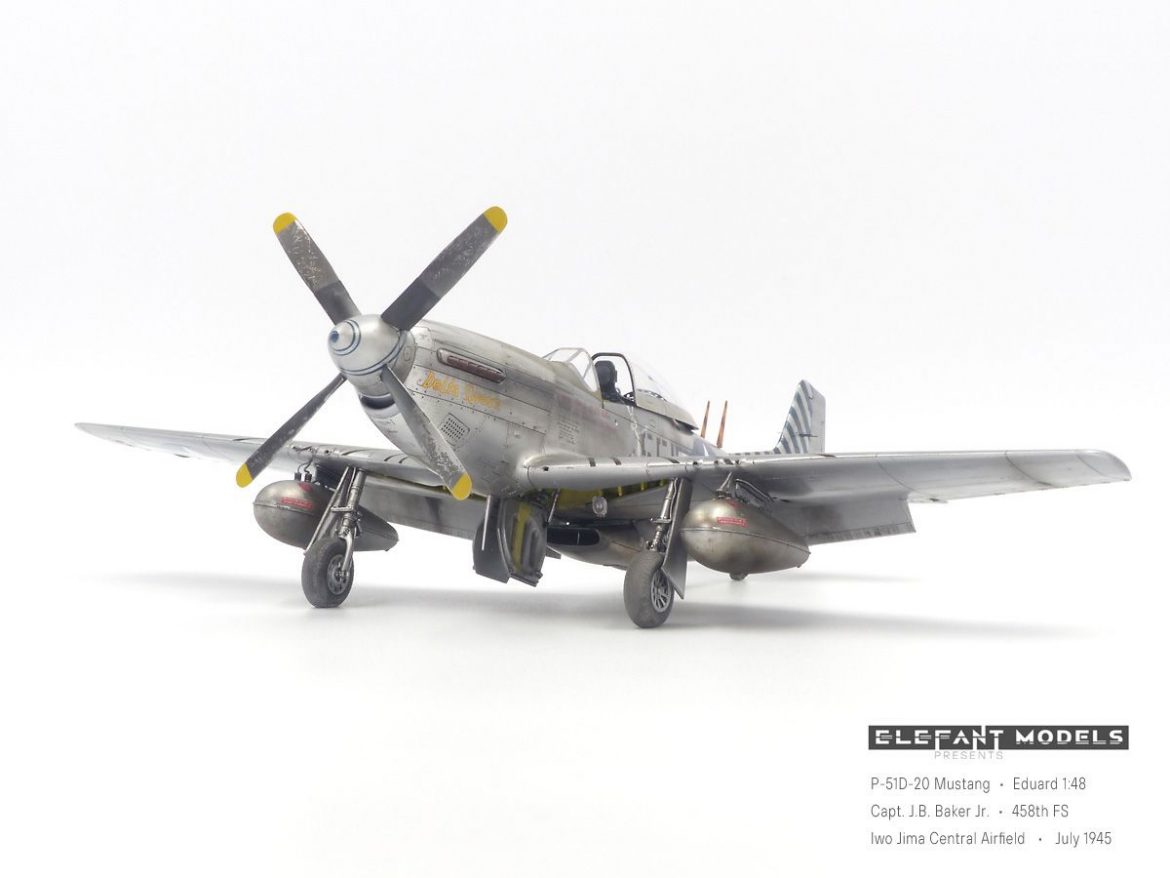
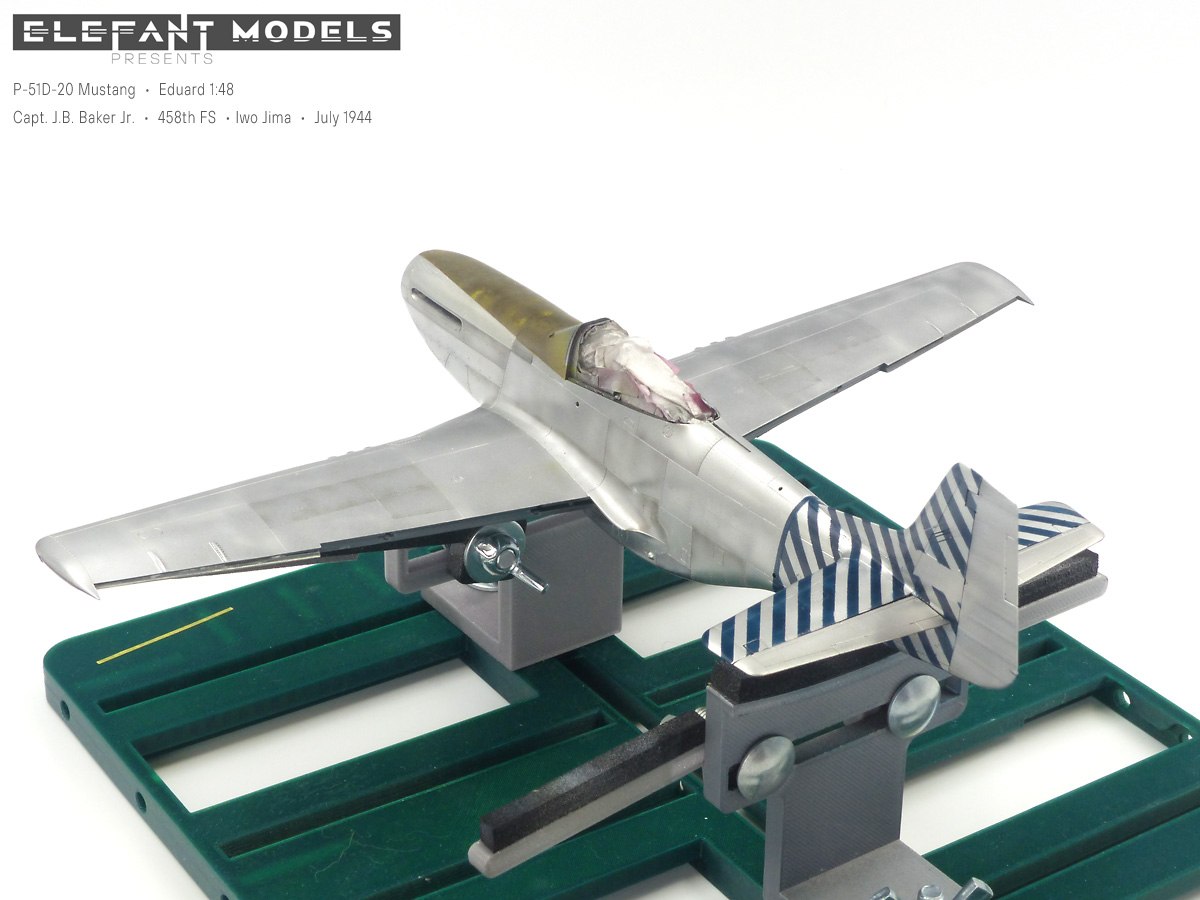 Painting the model was a challenge for me. From the beginning, I knew I would mainly struggle with deciding whether to use striped decals on the tail or to mask it all and airbrush it. I had only a vague idea of how to break up and enliven the entire metallic surface to ensure the model didn’t look dull but realistic. Therefore, I made few test attempts beforehand on scrap pieces. In the end, clean post-shading won out because pre-shading just looked odd under the metallic surface.
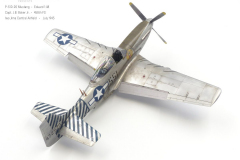
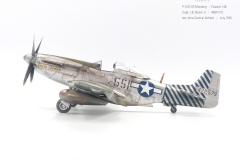
Before painting, I carefully polished and cleaned the entire model, which was a critical phase of the painting process. Any small oversight would have resulted in peeling paint or unpleasant artifacts on the surface. I sprayed a glossy black base coat (Mr. Color C) on the clean plastic. This color is very resilient, hard, and glossy, making it ideal for the base. I let it dry for 24 hours before applying metallic colors. I sprayed the wings with Mr. Paint Super Silver and the fuselage with Alclad Polished Aluminum. The fabric part of the rudder was painted with Alclad Semi-Matt Aluminum. I selected Alclad Stainless Steel for the area around the exhausts.
Anti-glare stripe – Painting
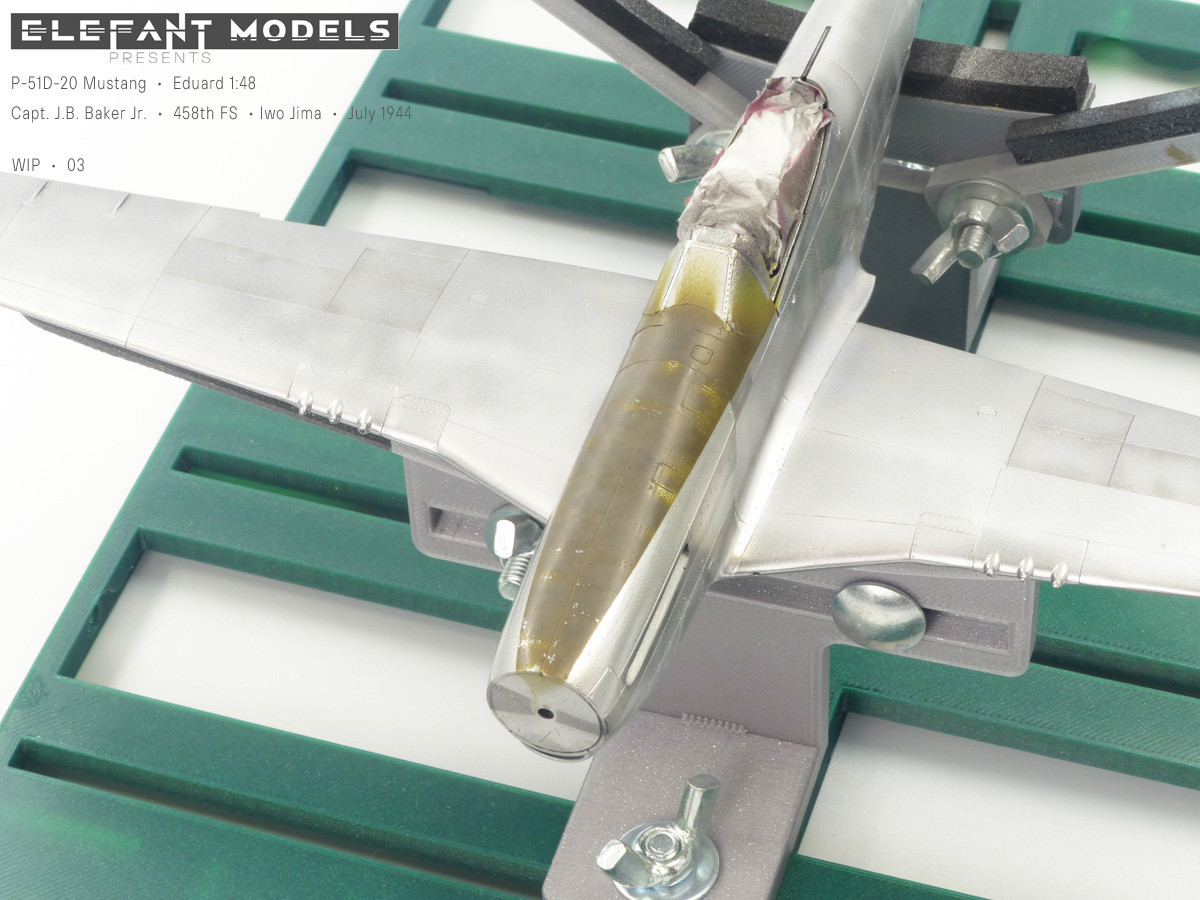
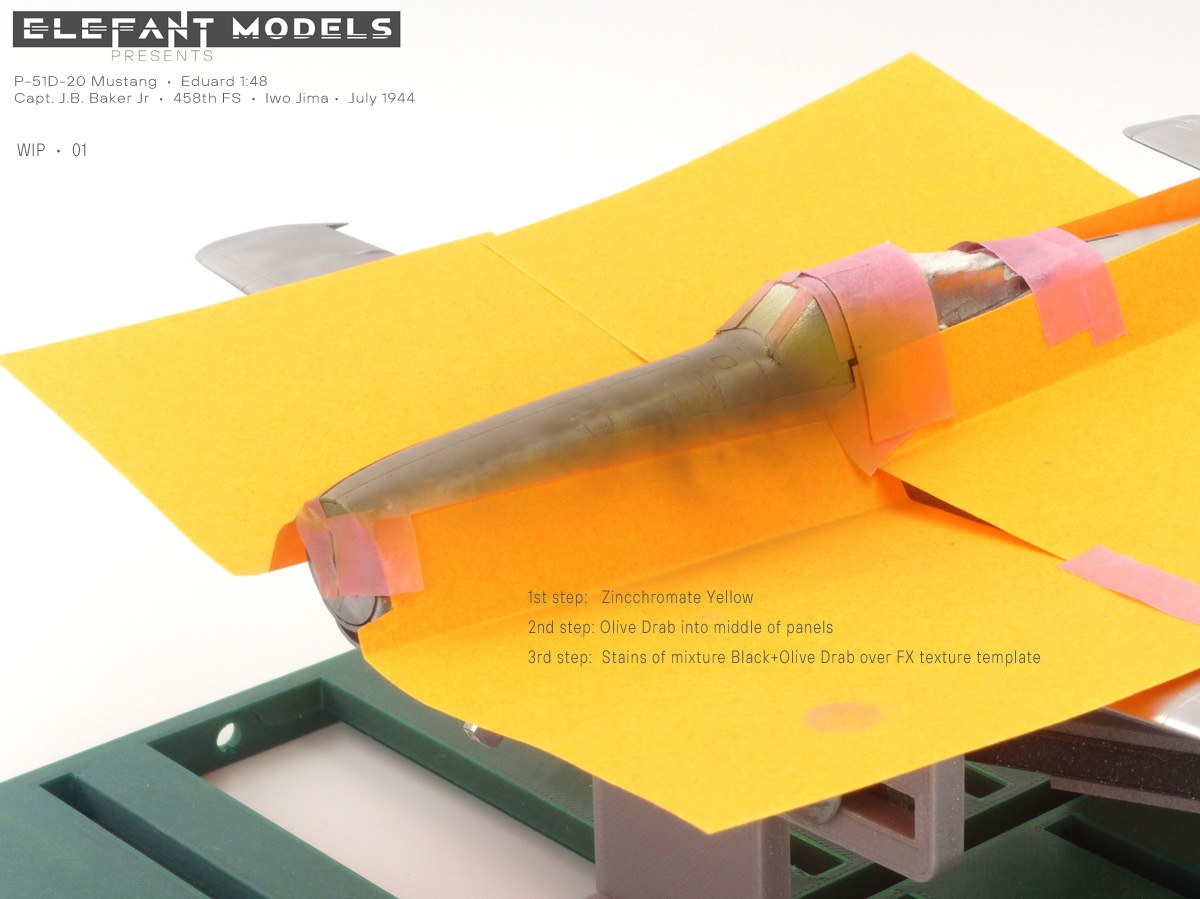 Before experimenting with post-shading on metallic colors, I applied the anti-glare stripe and simultaneously did all the post-shading and weathering:
1. I applied two layers of Tamiya X-22 clear coat over the metallic paint.
2. I sprayed hair lacquer (I won’t mention the brand; use any ordinary one with less hardness) next. Hair lacquer acts as a chipping medium when I want to create scratches or chipped paint.
The next layer was Zinc Chromate Yellow (Mr. Color).
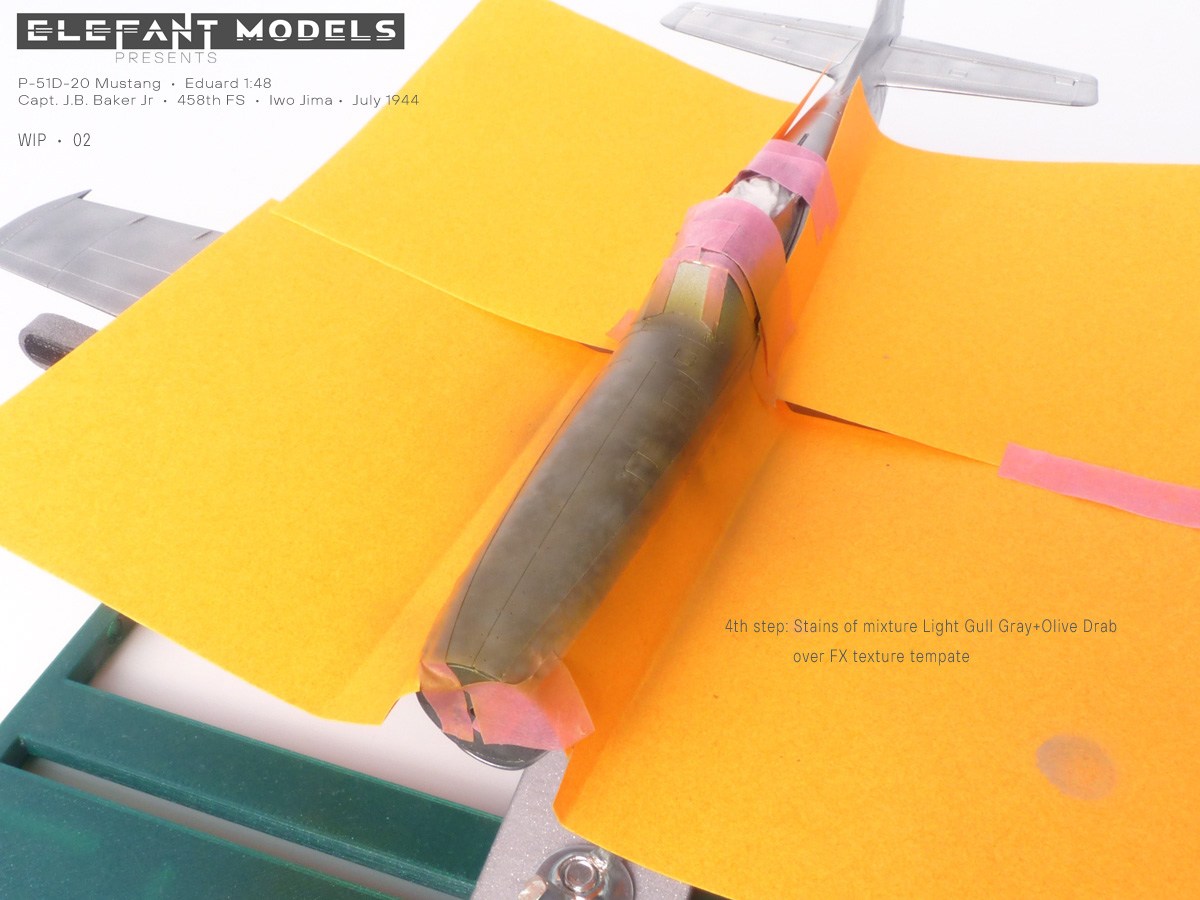 4. Then, Olive Drab (Mr. Color).
For the final layer, I sprayed the paint unevenly, leaving a translucent layer around the panel lines and rivets, creating the basic weathered look.
To make the texture even more pronounced and realistic, I sprayed dark olive drab, light olive drab, and medium ocean grey spots over the surface using a texture stencil. I used slightly thinner paint, short bursts, and constantly changed the stencil’s position to create a broken and irregular texture.
I allowed minimal one-hour breaks between each layer to let them dry slightly. Finally, I waited for 24 hours before starting the chipping process.
 Anti-glare stripe – Chipping
I applied ordinary water with a brush to the paint, let it sit for about 3 minutes, and then started gently rubbing the selected areas with fine sandpaper (1500 grit and higher) until I exposed the metal. I had to be very careful because there was a risk of sanding down to the underlying black or even the plastic. Using very fine sandpaper allowed me to achieve subtle transitions while revealing the underlying zinc chromate.
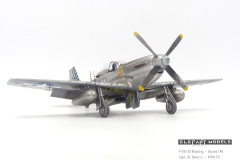
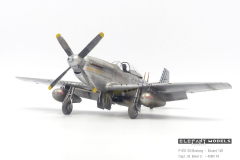
I did the chipping on the propeller blades very similarly – also using hair lacquer. Additionally, I sprayed black paint on the outer part of the blades in a light translucent layer to mimic the paint abrasion caused by aggressive volcanic dust.
Model Painting – Post-shading
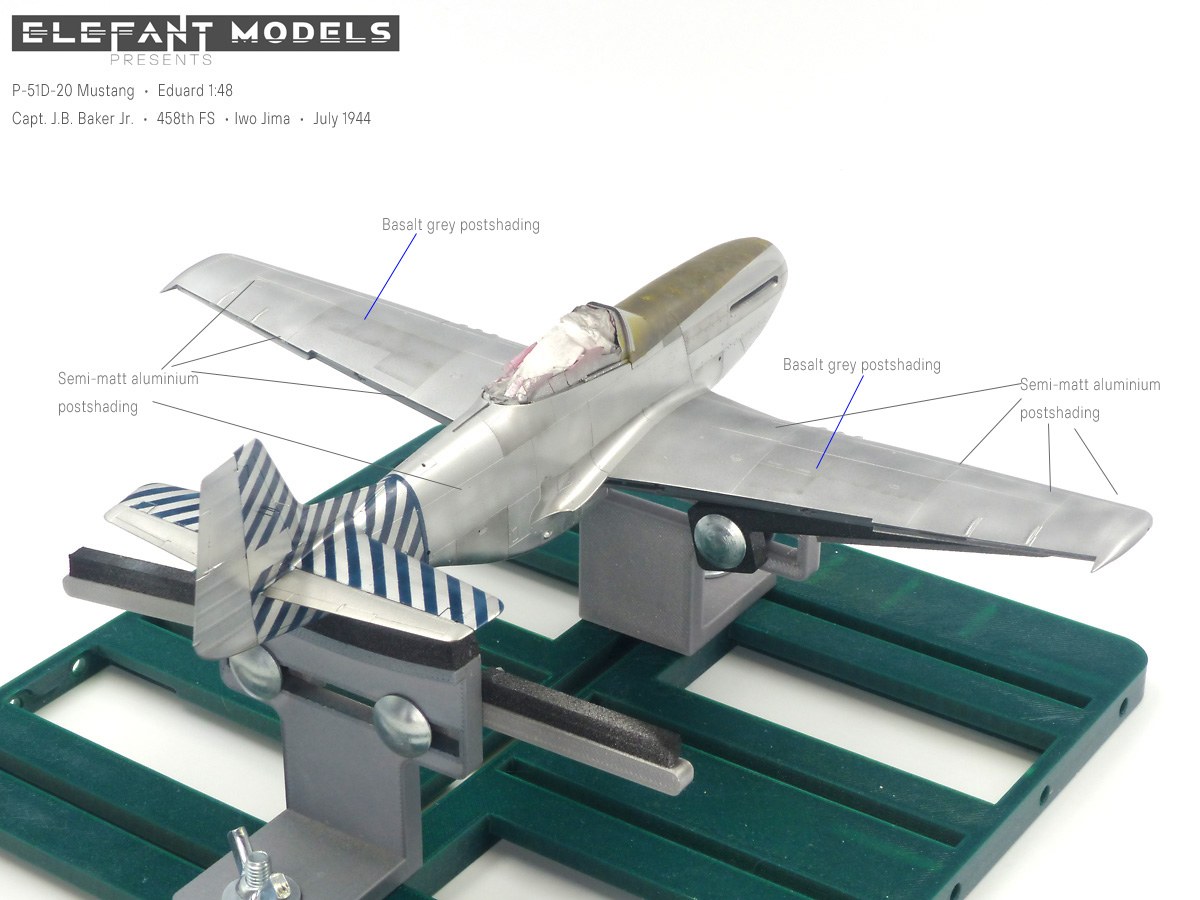 Based on photographs, I selected panels on the fuselage to darken along the panel lines to achieve the typical Mustang look as I envisioned it. Although I had access to many photos, I recommend sticking to one and following it to avoid being overwhelmed by various options and details.
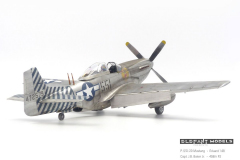
For post-shading, I chose Mr. Paint Basalt Grey, which I had left over from another model. It’s a gray color with a hint of brown, perfect for my needs. Using sticky notes as guides, I applied a light filter to some panels. In my opinion, it’s important not to overdo it by applying the filter everywhere or uniformly – it’s like seasoning, only the right amount is needed. On the wings, I also wanted to lighten the surface and give it a slightly worn look, so I used semi-matt aluminum, which looked lighter on the super silver base color.
Model Painting – Tail stripes
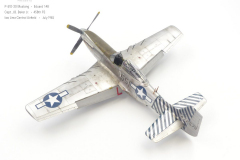
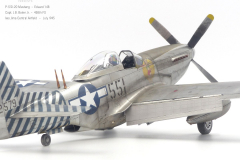
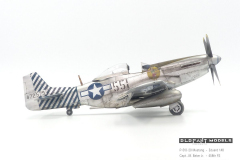
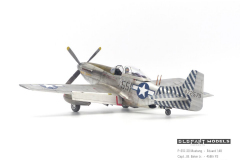
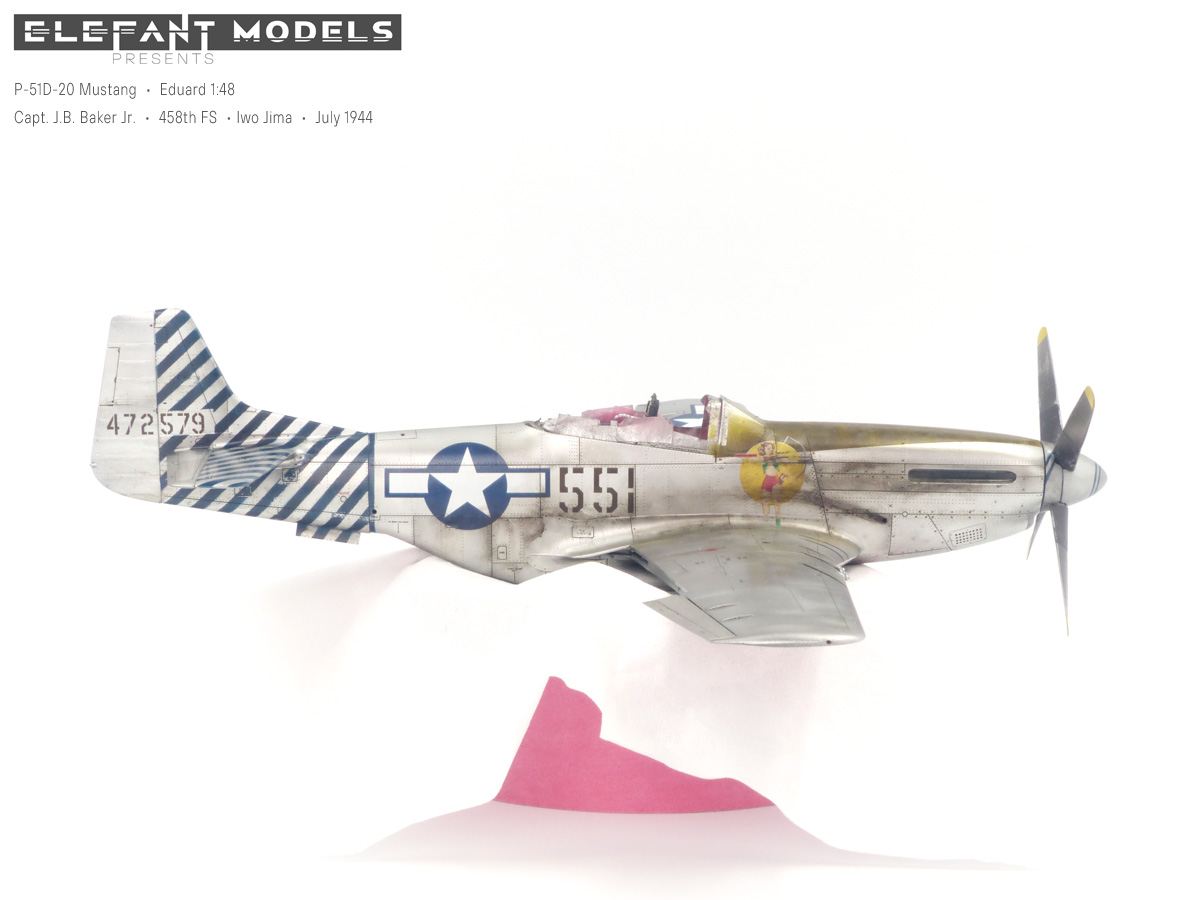
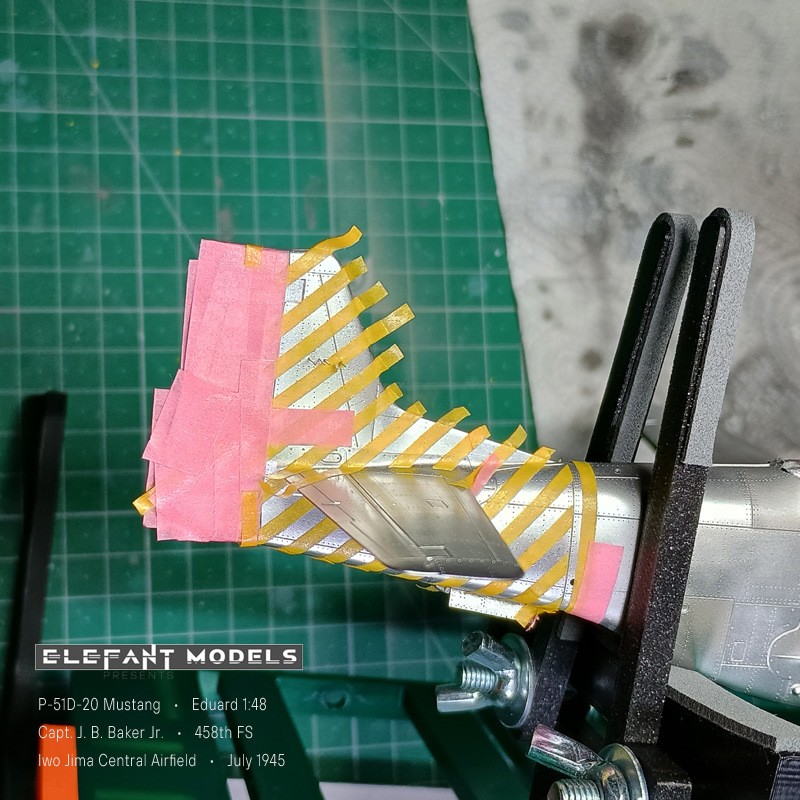 The 458th Fighter Squadron used blue stripes on the tail, and I decided not to use decals but to mask and airbrush them with Insignia Blue from Mr. Paint. I used 2mm-wide strips of Tamiya masking tape. It took me about 4 hours of work, spread over 2 evenings, as it was quite exhausting. I was most concerned about masking around the antennas on the rudder, but surprisingly, that turned out to be the least of my worries. The most challenging part was connecting the stripes from the vertical stabilizer to the horizontal stabilizer while maintaining the angle, direction, and spacing. Therefore, I masked the rudder first from both sides and then connected the stripes to the horizontal stabilizer.
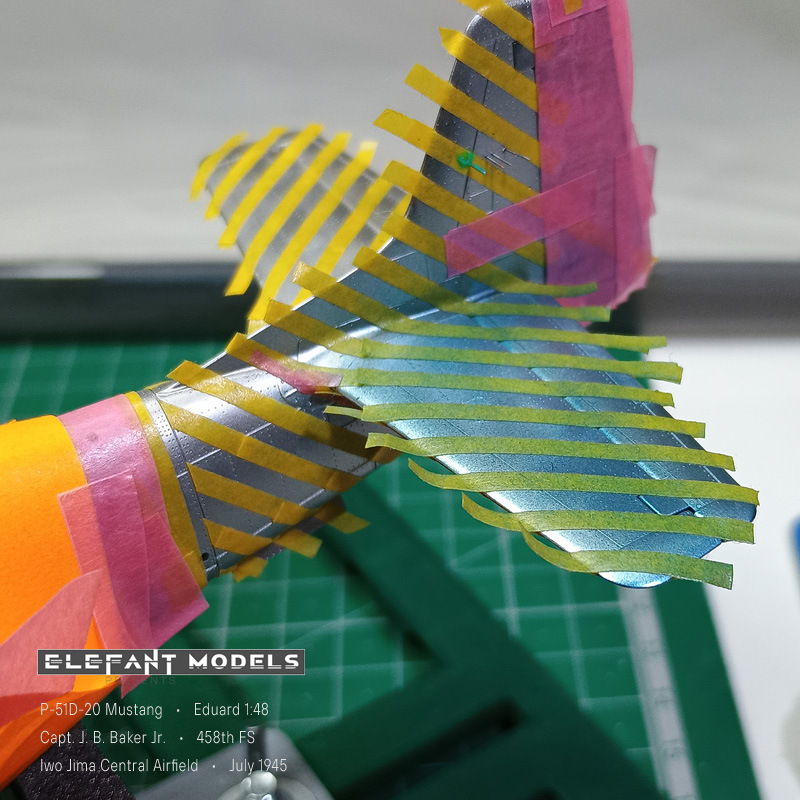 After removing the masking, I had to touch up several areas where the blue paint seeped under the strip, but metallic colors provide excellent coverage, and everything ended up looking perfect (which is why I also opted for post-shading on metallic colors).
Model Painting – the spinner
For the spinner, I initially wanted to use a decal, but I found that the spiral had an incorrect shape that didn’t match the reference and looked odd. I considered giving up on the whole thing, but eventually, I forced myself to try masking it using flexible Tamiya tape. I cut the tape into thin strips lengthwise and then tried to match the spiral shape on the spinner. I ended up doing the entire spiral in two steps – first from the base using flexible tape and then on the spinner’s top using manually cut masks for each strip, trying to blend them well into the existing spiral.
The “Uncle Dog” system antennas were painted with Vallejo paints using a brush.
Decals
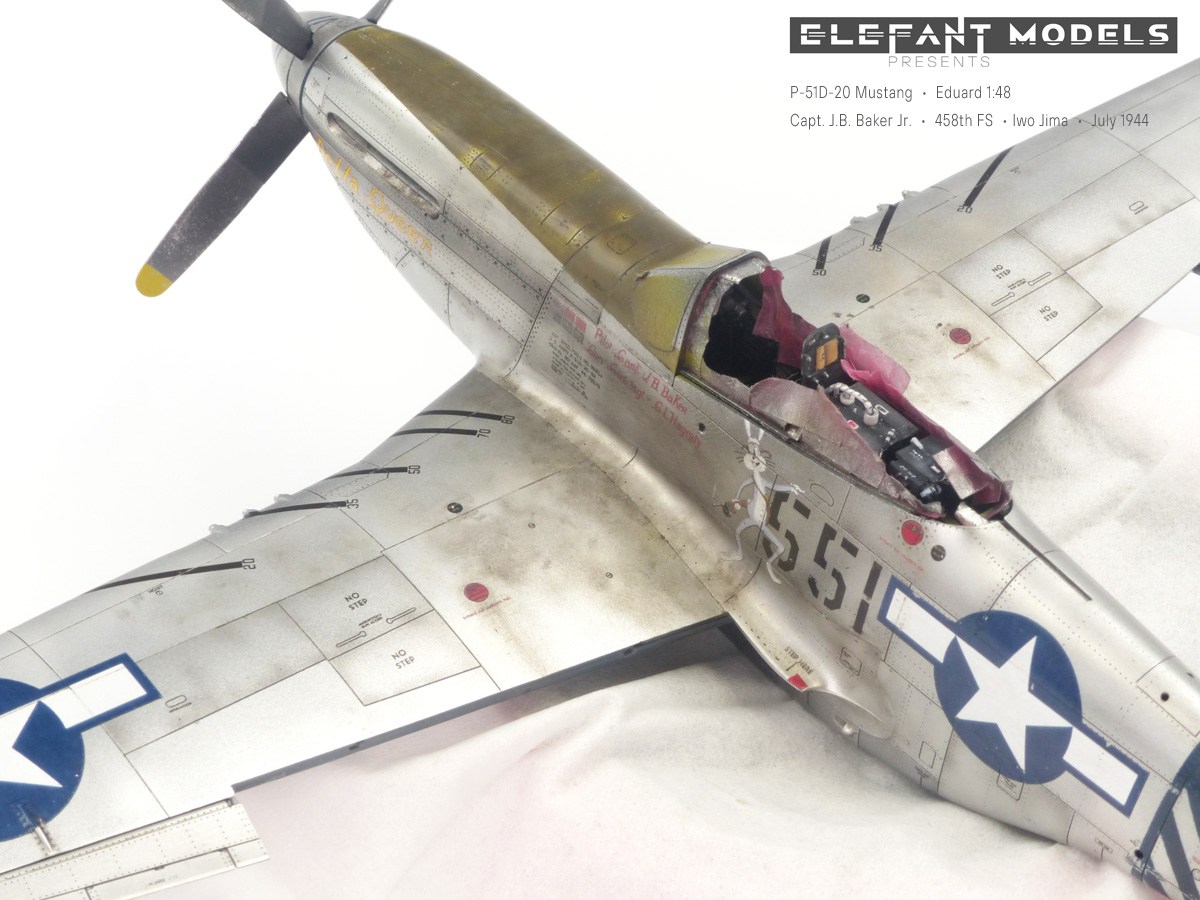 For this model, I encountered Eduard’s new decals for the first time. Peel off the topcoat or leave it? Although Mr. Nademlejnský claimed in a rather extensive article for Eduard that it was not necessary, I decided to remove the lacquer, especially on decals where there was a lot of lacquer between individual color elements – numbers, text in general… It seemed to me that there was a slight silvering, and I didn’t want to risk ruining the model. I was prepared for the worst – that I would ruin the decals…
Removing the lacquer was quite easy, and I only took away one lesson – under the decal, the surface must be smooth, and apply setter underneath it (just to be sure). Let the decal dry for about 24 hours or more.
 I then removed the lacquer using White Spirit. However, I left a few small stencils under the lacquer, and I would agree with Mr. Nademlejnský that after lacquering, the lacquer on the decal is not noticeable at all. So, I took away the lesson that removing the cover coat is only worthwhile in some places, but otherwise, it really is not necessary.
Weathering
Weathering can elevate the model to another level or completely ruin it. I did all the weathering on the Mustang with Abteilung oil paints, specifically three shades – black, brown-grey, and one shade from Mig productions – Dust. With this and two brushes – one ProArte 2/0 and one old frayed round brush No. 3 (Daler Rowney), I did everything – wing on-top dirt, exhaust smoke, soot streaks from cooling exhausts, spills and fuel spills around the fillers, basically everything.
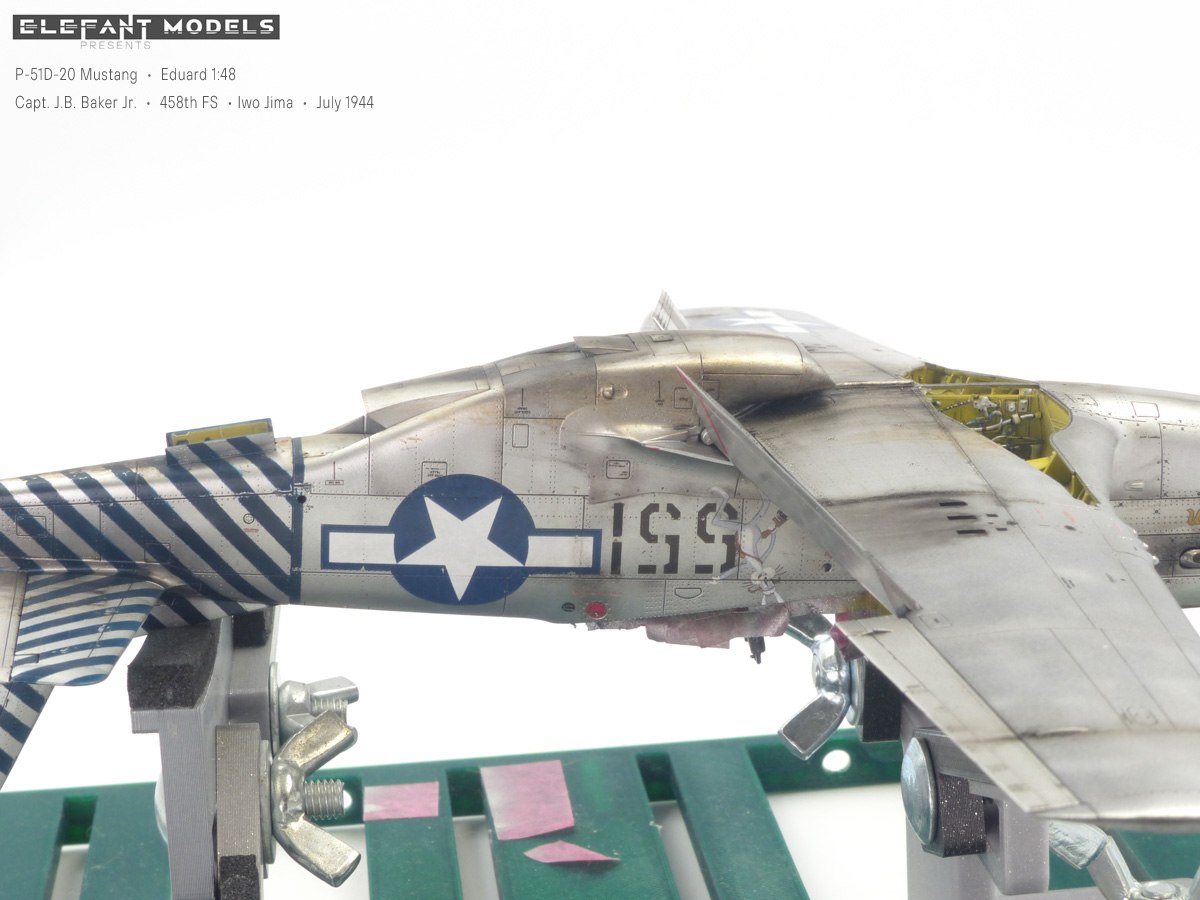 My inspiration for this – quite unusual and new approach for me – was the work with oils by Christian Jacobs and Mike Rinaldi. When I saw what could be done with oils, I had to try it. So, I proceeded quite similarly – I applied undiluted oil paint with a small brush to the areas I wanted to dirty and then spread it out with a round brush into a thin film – as needed and to the extent of dirtiness I wanted to achieve. Most of the time, I first applied brown paint, spread it as much as possible, and then either added brown again or black and made streaks or darker spots. It’s hard to describe, I recommend looking up Christian Jacobs on Instagram and watching his videos, it’s amazing and amazingly simple and effective.
Because I wanted the Mustang to look as close to the original as possible, I also focused on the underside of the aircraft. The dirt there varies from aircraft that are relatively clean to quite dirty machines. Therefore, I did weathering that corresponded to the condition of the upper surfaces to make it logical. The auxiliary fuel tanks are weathered in the same way.
Finally, I added a little weathering to the wheels with just a little dust pigment.
Model accuracy
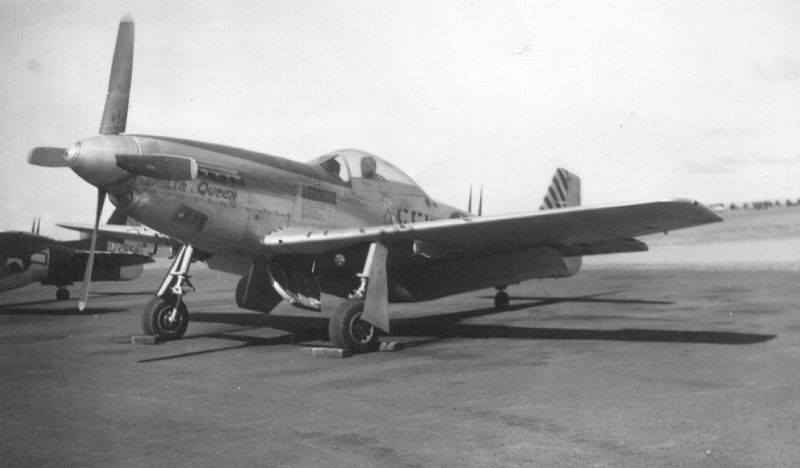
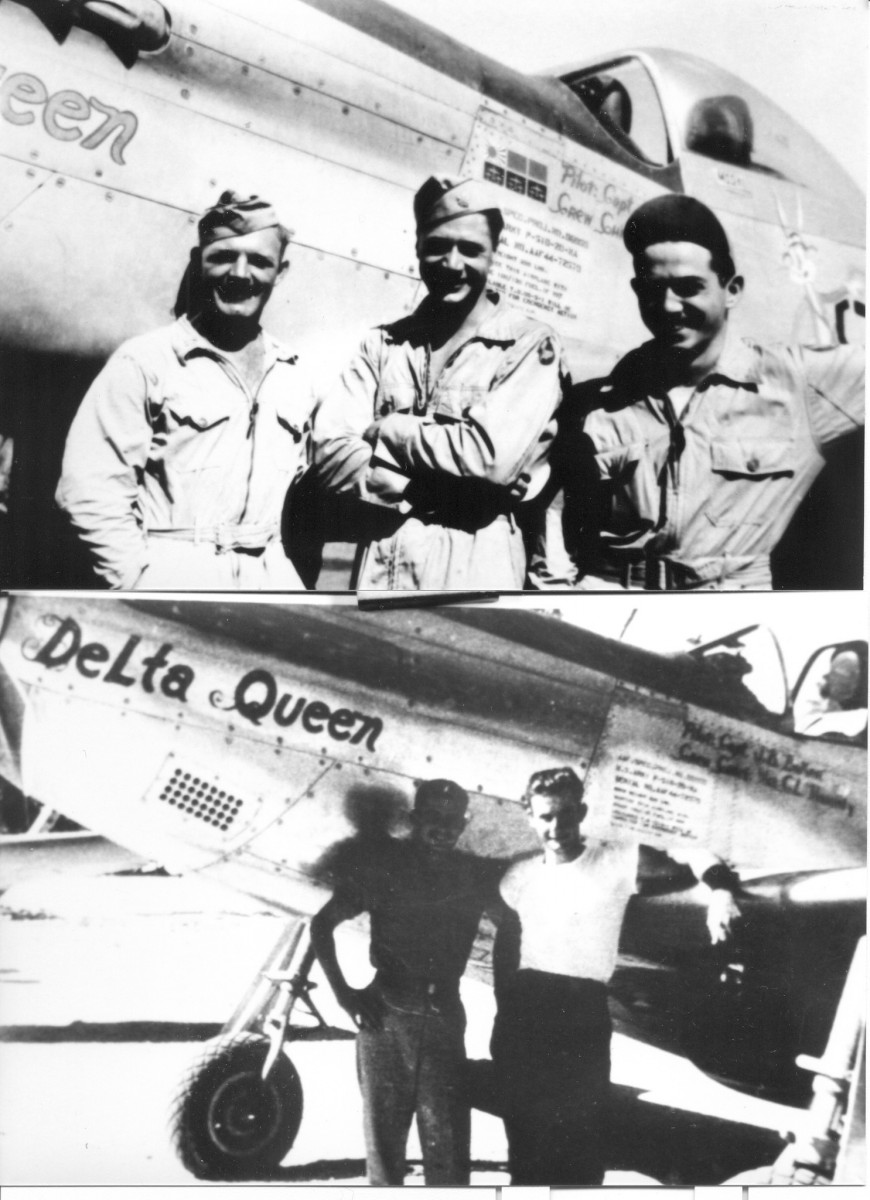 As for the accuracy of the model compared to the original, I had doubts about the correctness of the Eduard decals – whether it was the chosen colors or the layout of some elements under the canopy. For a long time, it seemed that the colors of the Delta Queen inscription and the color of the spinner spiral were not quite right. But after completing the model, I received a photo showing the Delta Queen inscription in a light – presumably yellow – color, and the layout of the image with the missions under the canopy matched the decals. In addition, I was assured that the color of the spiral was indeed blue. So, it’s clear from pictures that there are at least two versions of the inscription (pure red and yellow) and the number of missions under the canopy.
The construction took me a little over two months, but it could certainly be done faster. I proceeded quite slowly, with breaks and without haste.

